In order to access your remote desktop environment you will need to install and configure a small client application on your computer. The process is not complicated but if you have any doubts our technical team will walk you through it. However, we have provided the follow guide as most of our delegates work with IT and many prefer to install and setup the remote desktop client themselves.
The first step in configuring your remote desktop is to download and install the remote client application.
The software client is called X2Go and you can read all about it on the x2go.org web site.
This guide assumes you are running a version of Microsoft Windows, in which case the most current and stable version of the X2GO client can be found at:
X2GO Client Installation Download. Once you have downloaded this file you will need to 'run' or 'execute' it in order to install the X2GO client application. Your browser will normally offer an option to 'run' or 'open' the file once the download has completed. Once you have confirmed you want to install the program the installation process will be largely automatic and walk you through any options. The installation process should finish by installing a link on your desktop or within your computers applications menu, for you to launch the X2GO client. When you launch X2GO it should look similar to the image below.
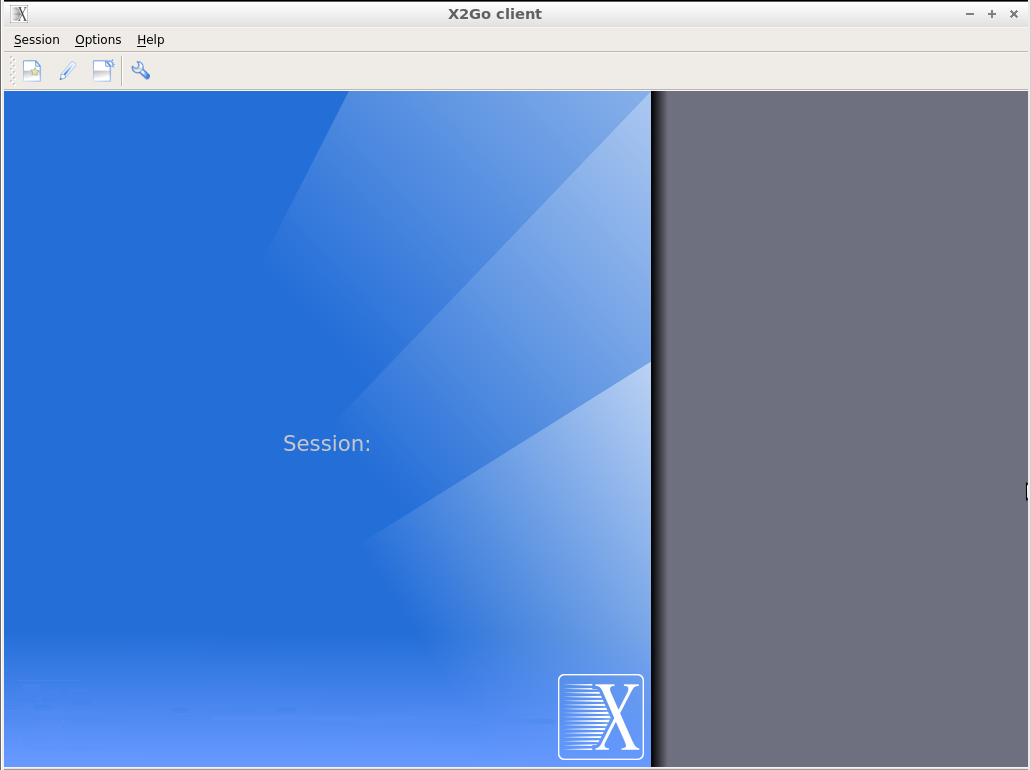
Once you have installed the X2GO client you will need to create a session profile which specifies the details for your connection to our server. The first time you run X2GO it should automatically launch the 'new session' dialogue box. If it does not you can simply select 'New Session' from the 'Session' option on the top left menu and you will be presented with the session configuration dialogue box below.
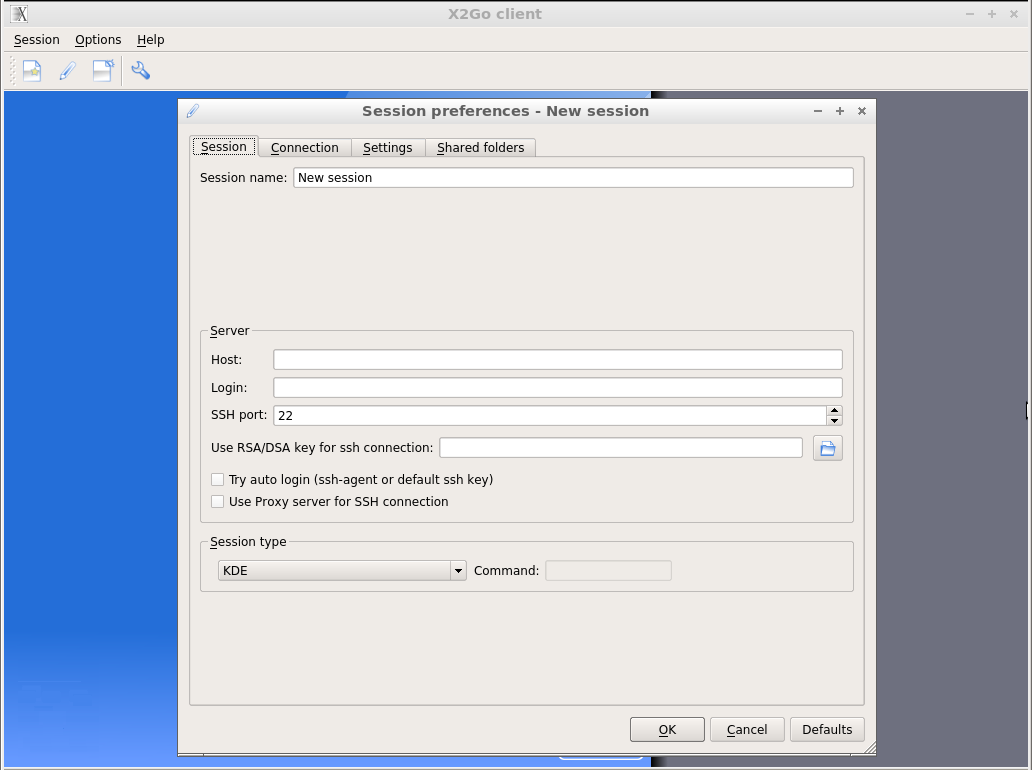
Configuring your X2GO client entails filling in details in the three tab pages of the session dialogue box: 'Session', 'Connection' and 'Settings'. The following three images show these pages of the dialogue box and the appropriate settings. You should be able to table through you dialogue box applying the settings as they appear below.
On the 'sessions' tab you will need to enter a the name of our remoted desktop server which is rdesk.openknowledge.co.uk as shown in the image below. You will also need to enter the login name which you should have received via emai. The SSH port number should already be set to 22 you should leave it as 22. Lastly the session type needs to be set. We are using a customized desktop on the server so you will need to select 'Custom desktop' from the drop down menu. You will then need to enter the command to specify our custom desktop. The following command line needs to be entered in the dialogue box shown below and is case sensitive.
lxsession -s Lubuntu -e LXDE

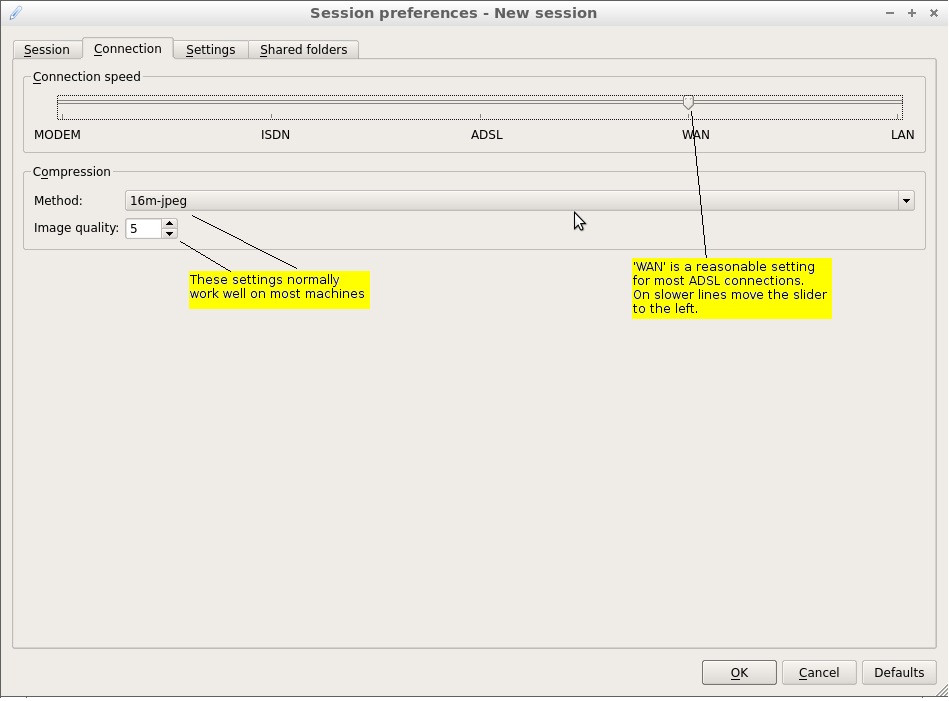
On the 'Connection' page you need to specify your connection speed. For most broadband connections you can simply select WAN. If you select a slower speed such as ISDN or MODEM it may cause the screen updates from the remote desktop server to become jittery. Consequently we recommend you start with a high setting such as 'WAN' and only reduce it only if you encounter problems.
The compression settings of 16m-jpg and a quality of 5 have been chosen as they seem to work well with Windows based machines.
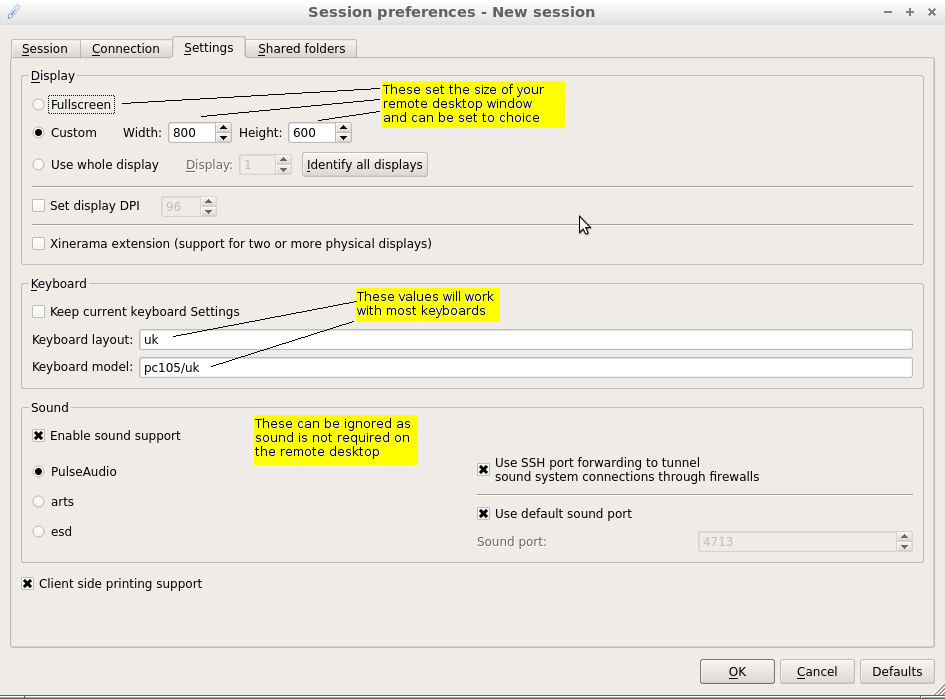
The 'Settings' tab allows you to set the size of windo your remote desktop's will appear in. You settings here depend on a number of factor which vary between people and the size of the screens they are using. The reason for not simply making the remotes desktop's windows 'Fullscreen' is that you will also be working with the video conferencing application in your browsers window and so at times you may switch between them or you may prefer to view both at once. We have simply offerred these setting as general starting point. The keyboard settings should work with most uk keyboards.
If you have any questions or problems please don't hesitate to contact us and one of our staff will be happy to assist.